There’s something undeniably special about a handmade card—it carries thoughtfulness, effort, and a personal touch that store-bought cards simply can’t match. This Mother’s Day, skip the generic greetings and create DIY Mother’s Day cards that truly reflect your love.
Whether you’re a crafting pro or a beginner, these ideas will help you design something beautiful and meaningful.
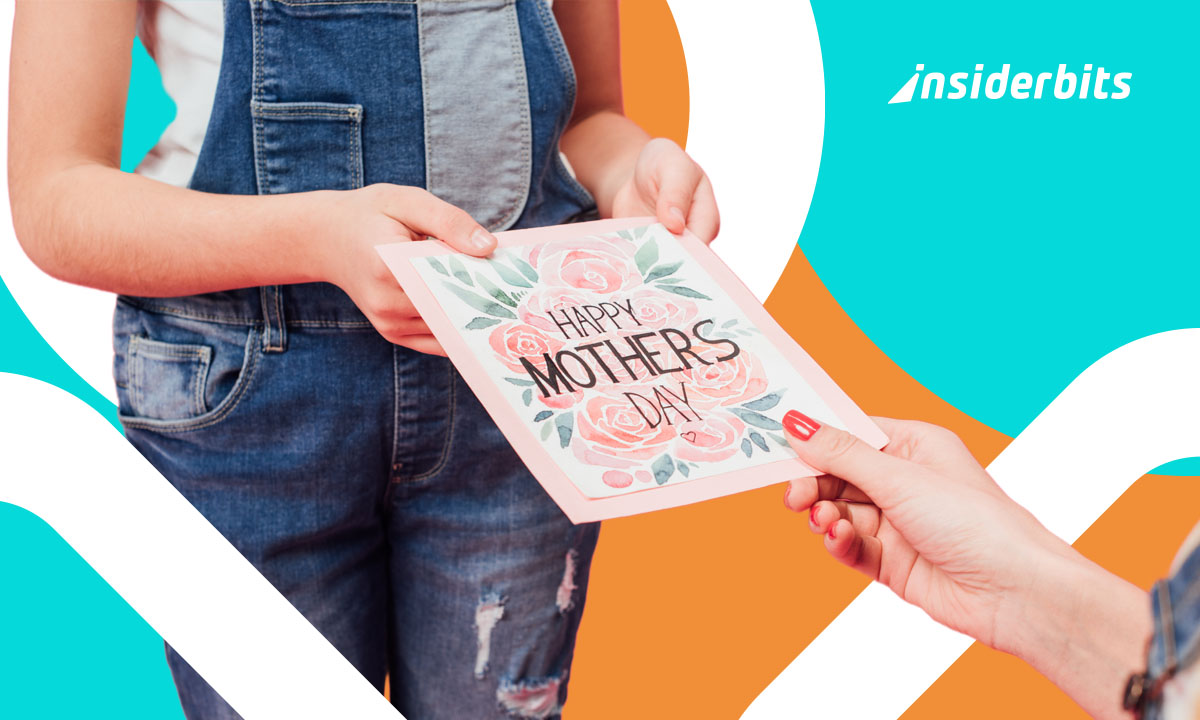
Why DIY Mother’s Day Cards Are More Meaningful
A handmade card isn’t just paper and glue—it’s a keepsake. Unlike mass-produced cards, a DIY Mother’s Day cards carries:
- Personalizzazione: tailored to her tastes, inside jokes, or favorite colors;
- Emotional Value: the effort you put in shows how much she means to you;
- Uniqueness: no one else will have the same card, making it truly one-of-a-kind.
Secondo Team Bonding, handwritten notes and handmade gifts are consistently ranked as the most cherished presents by moms.

Tools to Design a Beautiful Card
Creating stunning DIY Mother’s Day cards doesn’t require a craft store haul or professional skills—just the right tools and a dash of creativity.
Whether you’re team #HandmadeWithLove or prefer digital precision, these options will help you craft something extraordinary.
Traditional Crafting Supplies (For the Hands-On Artist)
If you love the tactile joy of paper and glue, these essentials will unlock endless possibilities:
The Foundation
- Premium cardstock (110 lb weight or higher prevents ink bleed);
- Textured papers (linen, metallic, or handmade for luxury feels);
- Pre-scored blank cards (available at craft stores for easy folding).
The Decor Arsenal
- Washi tape collection (for instant borders and patterns);
- Pressed botanicals (flowers from last summer’s garden add nostalgia);
- Lace scraps or fabric swatches (grandma’s vintage doilies = instant heirloom vibes).
The Writing Instruments
- Brush pens (Tombow Dual Brush for pro-level calligraphy);
- Metallic gel pens (perfect for dark paper);
- Embossing tools (heat-activated powders create raised lettering).
Pro Tip: raid your kitchen for unconventional tools—a celery stalk makes perfect rose stamps when dipped in paint!
Digital Tools for Stunning Designs
Each app offers distinct advantages: Canva for limitless creativity, Adobe Express for polished designs, and Greetings Island for effortless heartfelt cards.
All three provide free options with intuitive interfaces that make professional card creation accessible to everyone.
Canva
4.7/5
Canva is the ultimate design toolkit for crafting professional-looking cards with zero design experience.
Its drag-and-drop interface offers thousands of customizable Mother’s Day templates, premium fonts, and a built-in photo editor.
The app syncs across devices, so you can start designing on your laptop and finish on your phone.
Adobe Express

4.6/5
Adobe Express brings professional-grade design tools to beginners. Its AI-powered features like background removal and animated text make it easy to create stunning digital or printable cards.
The app includes exclusive Adobe Fonts and integrates seamlessly with other Creative Cloud apps.
Greetings Island

4.4/5
Specializing in greeting cards, Greetings Island offers hundreds of beautifully designed Mother’s Day templates with a focus on personalization.
Unique features include collaborative editing (perfect for family projects) and a message suggestion tool to help craft the perfect sentiment.
For more digital crafting tools, explore Insiderbits’ card-making app recommendations.
Step-by-Step Guide to Making Handmade Cards
Time to bring your mom some happy tears.
The Effortlessly Elegant Watercolor Floral Card
Perfect for: the mom who appreciates artsy, boho-chic vibes
Materials:
- Heavy watercolor paper (300gsm);
- Artist-grade watercolor set (like Winsor & Newton);
- Round brush (size 6 works best);
- Fine-tip waterproof pen (Pigma Micron 01).
Step 1: Create a Watercolor Wash Background
Wet your paper lightly with clean water, then drop in diluted paint for a dreamy, translucent base. Let it dry completely (use a hairdryer on low if impatient like me).
Step 2: Paint Loose Florals
Using the “wet-on-dry” technique:
- Load your brush with pigment;
- Make C-shaped strokes for petals;
- Add leaves with quick comma strokes.
Pro Tip: leave white space between flowers—it looks intentional, not messy!
Step 3: Ink Outline Magic
Once dry, use your micron pen to:
- Define just a few petal edges (not every one!);
- Add delicate stem lines;
- Dot some faux pollen centers.
Finishing Touch: write your message in modern calligraphy using a brush pen. Try “Rooted in your love, I bloom” for extra poetic points.
The Sentimental Pressed Flower Card
Perfect for: nostalgic moms who keep every dried rose you’ve ever given her
Next-Level Materials:
- Flowers pressed between book pages for 2+ weeks;
- Acid-free glue pen (to prevent browning);
- Vellum envelope (protects delicate petals).
Step 1: Compose Your Floral Story
Arrange petals to:
- Spell “MOM” with tiny blooms;
- Create a floral heart silhouette;
- Mimic her favorite garden flowers.
Step 2: Precision Gluing
- Use tweezers to place fragile pieces;
- Apply glue to the card first, not the flowers;
- Press gently with wax paper and a heavy book.
Step 3: Seal the Deal
- Lightly spray with acrylic sealer;
- Layer a tissue paper “veil” over delicate areas;
- Hand-letter “Time with you is my favorite season”.
Bonus: include the date and flower origins on the back—future mom will treasure this detail.

The Show-Stopping Pop-Up Surprise Card
Perfect for: the mom who deserves actual confetti every day
Engineer-Level Supplies:
- 65lb cardstock in contrasting colors;
- X-Acto knife and self-healing mat;
- Glue dots (regular glue warps paper).
Step 1: Build the Pop-Up Mechanism
- Fold card in half;
- Cut two parallel 2″ slits at center fold;
- Push cut section inward to form mountain fold
Step 2: Create the Magic Element
- Silhouette cutouts (cricut works great);
- Layered paper flowers with foam spacers;
- A pop-up photo frame (cut a wallet-sized photo slot).
Step 3: Add Dimensional Details
- Glitter gradients (start dense, fade out);
- Hidden pull-tab messages (“Swipe to see why you’re amazing”);
- Mini envelope with a “Reasons I Love You” scroll.
Wording Inspiration:
“The world needs more pop-up hugs—consider this my first attempt!”
Pro Tips From Cardmaking Legends
- Texture Trick: rub a used dryer sheet over glue for subtle shimmer;
- Scent Dimension: lightly brush card with mom’s signature perfume;
- Interactive Element: add a tear-off “Coupon Book” on the back.
For advanced techniques like quilling or foil stamping, Marie Bostwick’s guide breaks down professional methods even beginners can master.
Remember: the fingerprint smudge you’re stressing over? That’s what will make her cry when she rediscovers this card in a decade. Perfection is overrated—heart is everything.
Creative Messages to Include in Your Card
The right words make your card unforgettable. Try these heartfelt phrases:
- “Thanks for loving me even when I forget to text back.”
- “Home isn’t a place—it’s wherever you are.”
- “You’re my first call, my safe place, and my biggest cheerleader.”
For more inspiration, Good Housekeeping has a list of touching messages.
Final Touches: Make It Extra Special
- Add a photo: a childhood pic or recent selfie makes it personal;
- Spritz perfume: a light scent adds a sensory memory;
- Include a small gift: a tea bag, bookmark, or handwritten coupon for a hug.
For more elegant card ideas, explore Martha Stewart’s Mother’s Day collection.
Why Handmade Cards Win Every Time
DIY Mother’s Day cards aren’t just a gift—but a memory she’ll keep forever. Whether you go for watercolors, digital designs, or pressed flowers, the thought behind it will mean more than anything store-bought.
Now grab your supplies and start creating—your mom deserves something as special as she is.


