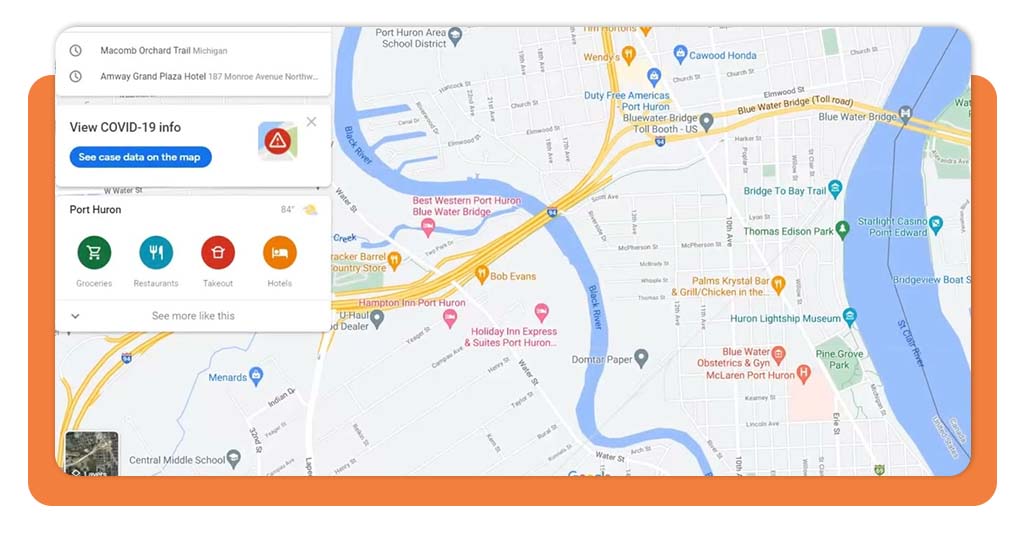
Every time you use Google Maps with location services enabled, Google quietly records your movements in a feature called Chronologie.
This personal map chronicles where you’ve been, the routes you’ve taken, and even how you traveled—whether by car, foot, or public transport.
While some find this feature incredibly useful for remembering trips or tracking commutes, others worry about the privacy implications of such detailed location tracking. This guide will show you how to:
- Access and interpret your Timeline data;
- Adjust privacy settings to control what gets recorded;
- Permanently delete sensitive location history;
- Recover accidentally deleted Timeline information.
Whether you want to leverage Google Maps Timeline’s benefits or minimize your digital footprint, understanding this tool is essential in today’s location-aware world.
4.3/5
Google Maps Timeline: How to Access and Manage Your Data

Google Maps is more than just a navigation tool—it’s a powerful recorder of your daily movements through its Chronologie feature. If you’ve ever wondered how to review, edit, or control this digital footprint, you’re in the right place.
Google Maps App Overview
Key Timeline Features:
- Tracks visited locations with timestamps;
- Shows travel routes and transportation modes;
- Allows manual edits and deletions;
- Available across all your devices.
Before diving into Timeline management, ensure you’re using the latest version of Google Maps from the Play Store ou App Store.
Now, let’s explore how to take control of your location history—whether you want to cherish memories or tighten your privacy settings.
Viewing Your Timeline
- Ouvrir Google Maps on your smartphone or computer.
- Tap your profile picture → Your Timeline.
- Select any date to see:
- Locations visited with timestamps;
- Travel routes between places;
- Transportation mode used;
- Photos taken at locations.
Conseil de pro : use the monthly calendar view to quickly jump to specific dates.
Editing Timeline Entries
- Remove a place: tap a location → Supprimer
- Correct locations: tap a place → Edit → aearch for correct address
- Add missing places: tap + Add a place
Auto-Delete Settings
- Go to Timeline → Settings (⚙️)
- Sélectionner Automatically delete Location History
- Choose 3 months, 18 months, or 36 months
Privacy Risks and How to Protect Your Timeline Data
What Could Go Wrong?
- Security breaches could expose your daily routines;
- Legal requests might compel Google to share your data;
- Personal safety risks if someone accesses your account.
Protection Strategies
- Use Google’s Security Checkup to review account access;
- Enable 2-Step Verification for your Google account;
- Regularly audit connected third-party apps;
- Pause location history during sensitive activities.

Steps to Permanently Delete Your Timeline History
Delete Specific Time Periods
- Open Timeline → Click 🗑️ Delete Day;
- Or select Delete custom range for multiple days.
Wipe All Location History
- Aller à Google Account → Data & Privacy;
- Under History Settings, select Location History;
- Choose Delete all Location History.
Remarque : deleted data can’t be recovered after 30 days.
Recovering Lost or Deleted Timeline Information
If you’ve accidentally deleted Timeline data:
- Check Google Takeout for archived location data;
- Review backup devices if you used multiple phones;
- Contact Google Support within 30 days of deletion.
For detailed recovery steps, visit Google’s Timeline help page.
Final Thoughts: Balancing Utility and Privacy
Google Maps Timeline is simultaneously one of the most useful and potentially intrusive features in our digital lives.
On one hand, it serves as an automatic personal logbook, effortlessly answering questions like “Which coffee shop did I visit last Tuesday?” or “What was the route I took during my vacation in Rome?“.
For business users, it transforms into an invaluable tool for tracking mileage and work-related travel with precision that manual logging could never match.
However, this convenience comes at the cost of near-constant location surveillance. The same feature that helps you remember a memorable dinner date also maintains a comprehensive record of your daily routines, favorite spots, and frequent visits.
The most balanced approach involves using Timeline strategically rather than abandoning it completely.
Consider keeping the feature active to enjoy its benefits while implementing safeguards: enable automatic deletion after three months to prevent indefinite data retention, make it a monthly habit to review your location history, and immediately remove any sensitive locations you’d rather not have recorded.
This middle ground allows you to leverage Timeline’s advantages while maintaining reasonable control over your digital footprint.
Remember that your approach should evolve with your circumstances—you might want stricter controls during sensitive periods of your life, or more comprehensive tracking during extended travels. The power lies in understanding the tools at your disposal and making conscious choices about how you use them.
For those particularly concerned about privacy, Google offers additional controls like Location History pausing and Incognito Mode in Maps.
By combining these features thoughtfully, you can craft a personalized location-tracking strategy that serves your needs without compromising your comfort level with data collection.
4.3/5
Need to locate a lost device? Learn how to use Google’s Find My Device as another useful location-aware tool.
Ultimately, Google Maps Timeline, like most technology, isn’t inherently good or bad—it’s about how we choose to use it. With the right settings and habits, you can transform what might feel like surveillance into a genuinely helpful personal assistant that respects your boundaries.


